Cache is great for visitors, but, it often is a nightmare for developers or web administrators. If you find yourself pulling your hair because your changes are not being reflected, then chance is that there is software behind serving you old copies of your content.
Caching software stores data - posts, pages, and other content on your website as static HTML, so that future requests of the data is served faster without the need to make back-and-forth trips to the server. This decreases page load times, hence making a website fast.
A blazing fast site is good for your website visitors and search engine bots, thanks to caching. However, this can be a nuisance to developers and website admins, when changes are not reflected immediately.
So, one has to clear cache to see those changes immediately. Below are some examplas of clearing the cache from different sources.
Step1. Clear the cache on a browser (Firefox and Chrome)
By default browsers and ISPs keep a copy of webpage the first time it is accessed, the next time you access these pages, it will retrieve the saved copy.
The place to start, therefore is clearing or deleting your browser history. For Firefox, on the menu, go to Options, then to Privacy & Security. Under Cookies and Site Data, click the Clear Data button.
And in Chrome, simultaneously press CTRL, ALT, DELETE keys. Or go through the menu, found at the top right corner of the browser next to the profile photo. Under More Tools, Click Clear browsing data.
Now click Clear data.
Reload your site and see if there is any change. If there is no difference, hard refresh. On Firefox, press Ctrl and the F5 keys, or press Ctrl and click the refresh button.
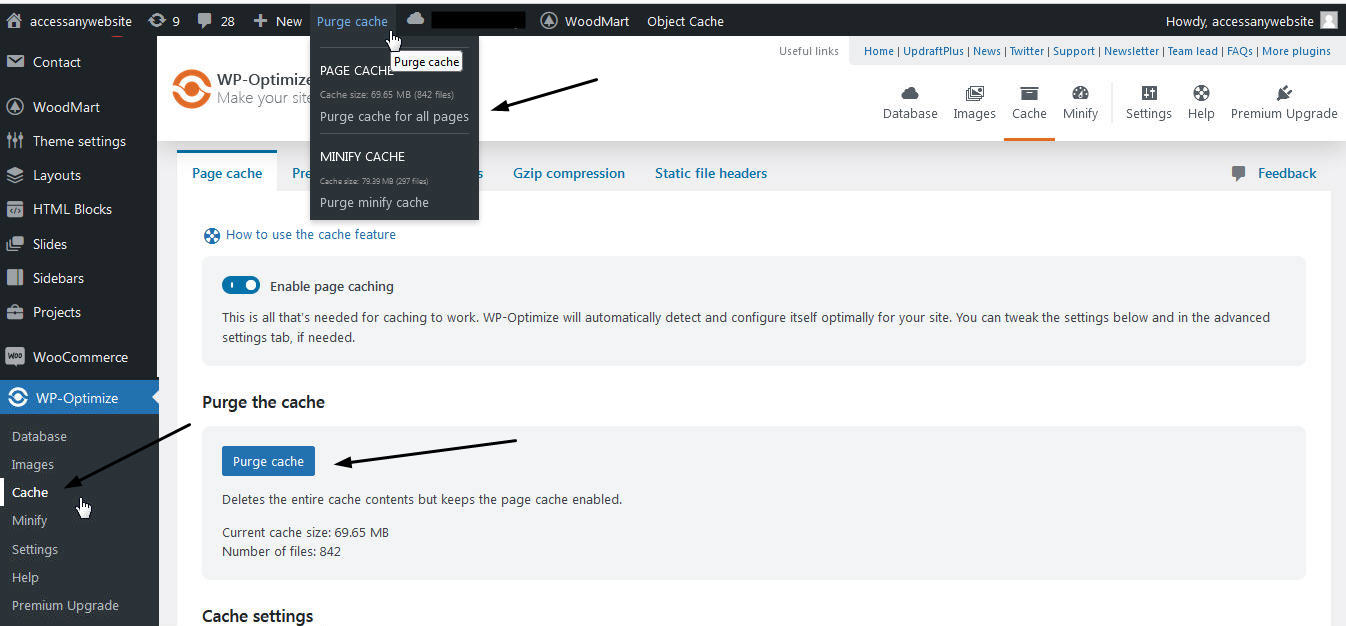
Step2. Clear cache on WordPress caching plugin
Like I mentioned earlier, caching on WordPress is handled by a plugin. To clear cache in WordPress therefore, you need to find the plugin you are using, go to its settings and there should be a place to clear or delete cache. Here is how to clear cache on WP-Optimize plugin.
Step3. Clear cache in a Content Distribution Network (CDN - BunnyCDN)
To clear the cache from BunnyCDN, go to your SellCloud Panel and click the CDN tab > Manage Zone > Click Purge Cache button
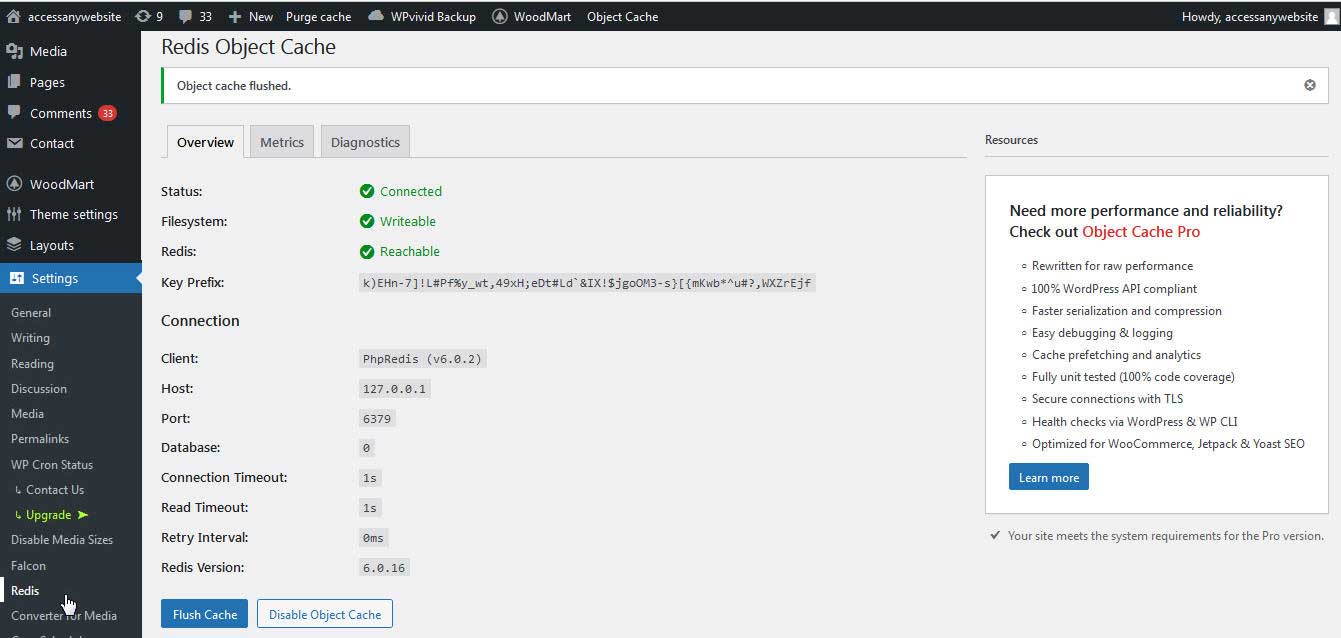
Step4. Flush cache on Redis Object Cache plugin
If you are using Redis (Auto install it from Sellcloud Panel under Advance tab) and also have installed the Redis Object Cache plugin, from your Wordpress dashboard, go to Settings > Redis > Flush Cache. To clear the Redis cache, click the Flush Cache button.